All grades (preK-5) will be creating artworks for the PTA’s Art to Remember fundraiser. Art to Remember provides families with an easy way to have their students’ artwork turned into some pretty cool items, such as iPhone covers. If you love your students’ artworks and want to take them with you everywhere, you are in luck, that is exactly what Art to Remember helps you do!
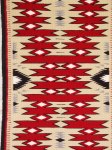
The fifth grade will be learning about PlainsNative American traditional art. Shields were used for physical and spiritual protection, which make them ceremonial and functional forms of art. Ceremonial art is used for ceremonies and rituals, while functional art can be used. Shields often depicted animals that would provide desirable qualities, like a bear for strength.
Student example
Student example
Here’s contemporary Lakota artist, James Little Wounded’s shields.
Art in Action: From National Geographic, here’s a video of the Oglala Lakota Nation’s Pow Wow. At the Pow Wow, we see how dancing, music, and ceremonial art (dress) work together. Pay close attention to how the Mr. Spotted Tail explains how he learned to participate in the Pow Wow.
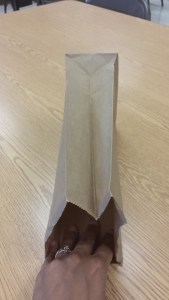
Steps:
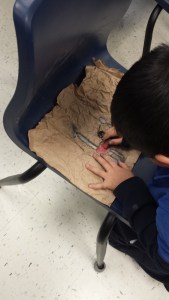
1) Open your bag, flip upside-down.
2) Cut up ONE side of the bag. Cut through the triangle at the top.
3) Cut out the “bottom” rectangle of the bag.
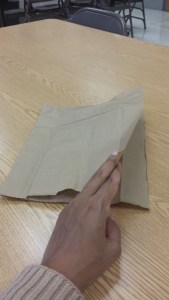
4) Lay your bag out flat. You should have completely cut out the rectangle. Write your name and class on the back.
5) On the pre-folded seam, fold your paper in HALF. Make sure the edges aren’t folded under.
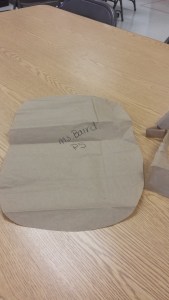
6) The folded side is on the LEFT. Draw the belly of a “D” on your bag.
7) Cut out your half oval. In pencil, write your name and class on the back.
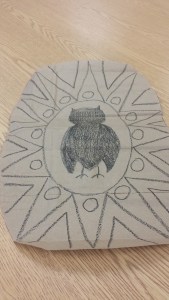
8) Flip over your paper. In pencil, draw the outline of ONE NORTH AMERICAN animal with qualities you’d want. I want to be wise- so an owl is perfect.
9) Draw a pattern design around your animal. Does have it symmetrical, asymmetrical, or radial balance?
10) PAINT your animal black. It will look like a shadow. PAINT the rest of your shield.
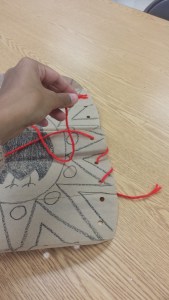
11) When your shield is dry, hole punch around your edges.
12) When your shield is dry, use yarn to weave around the edges.
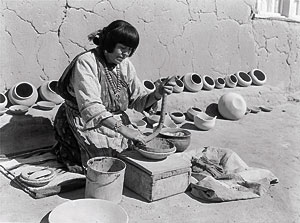
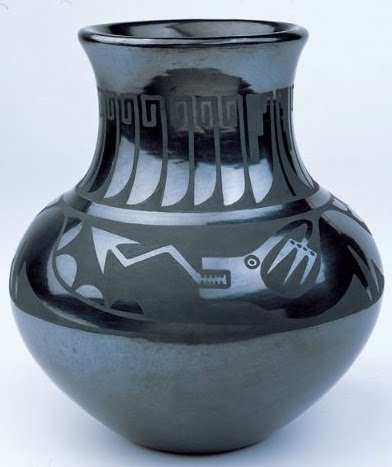
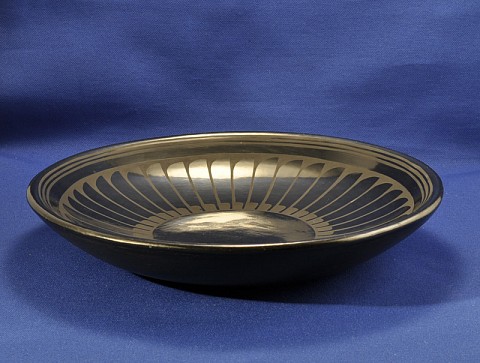
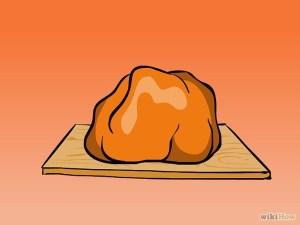
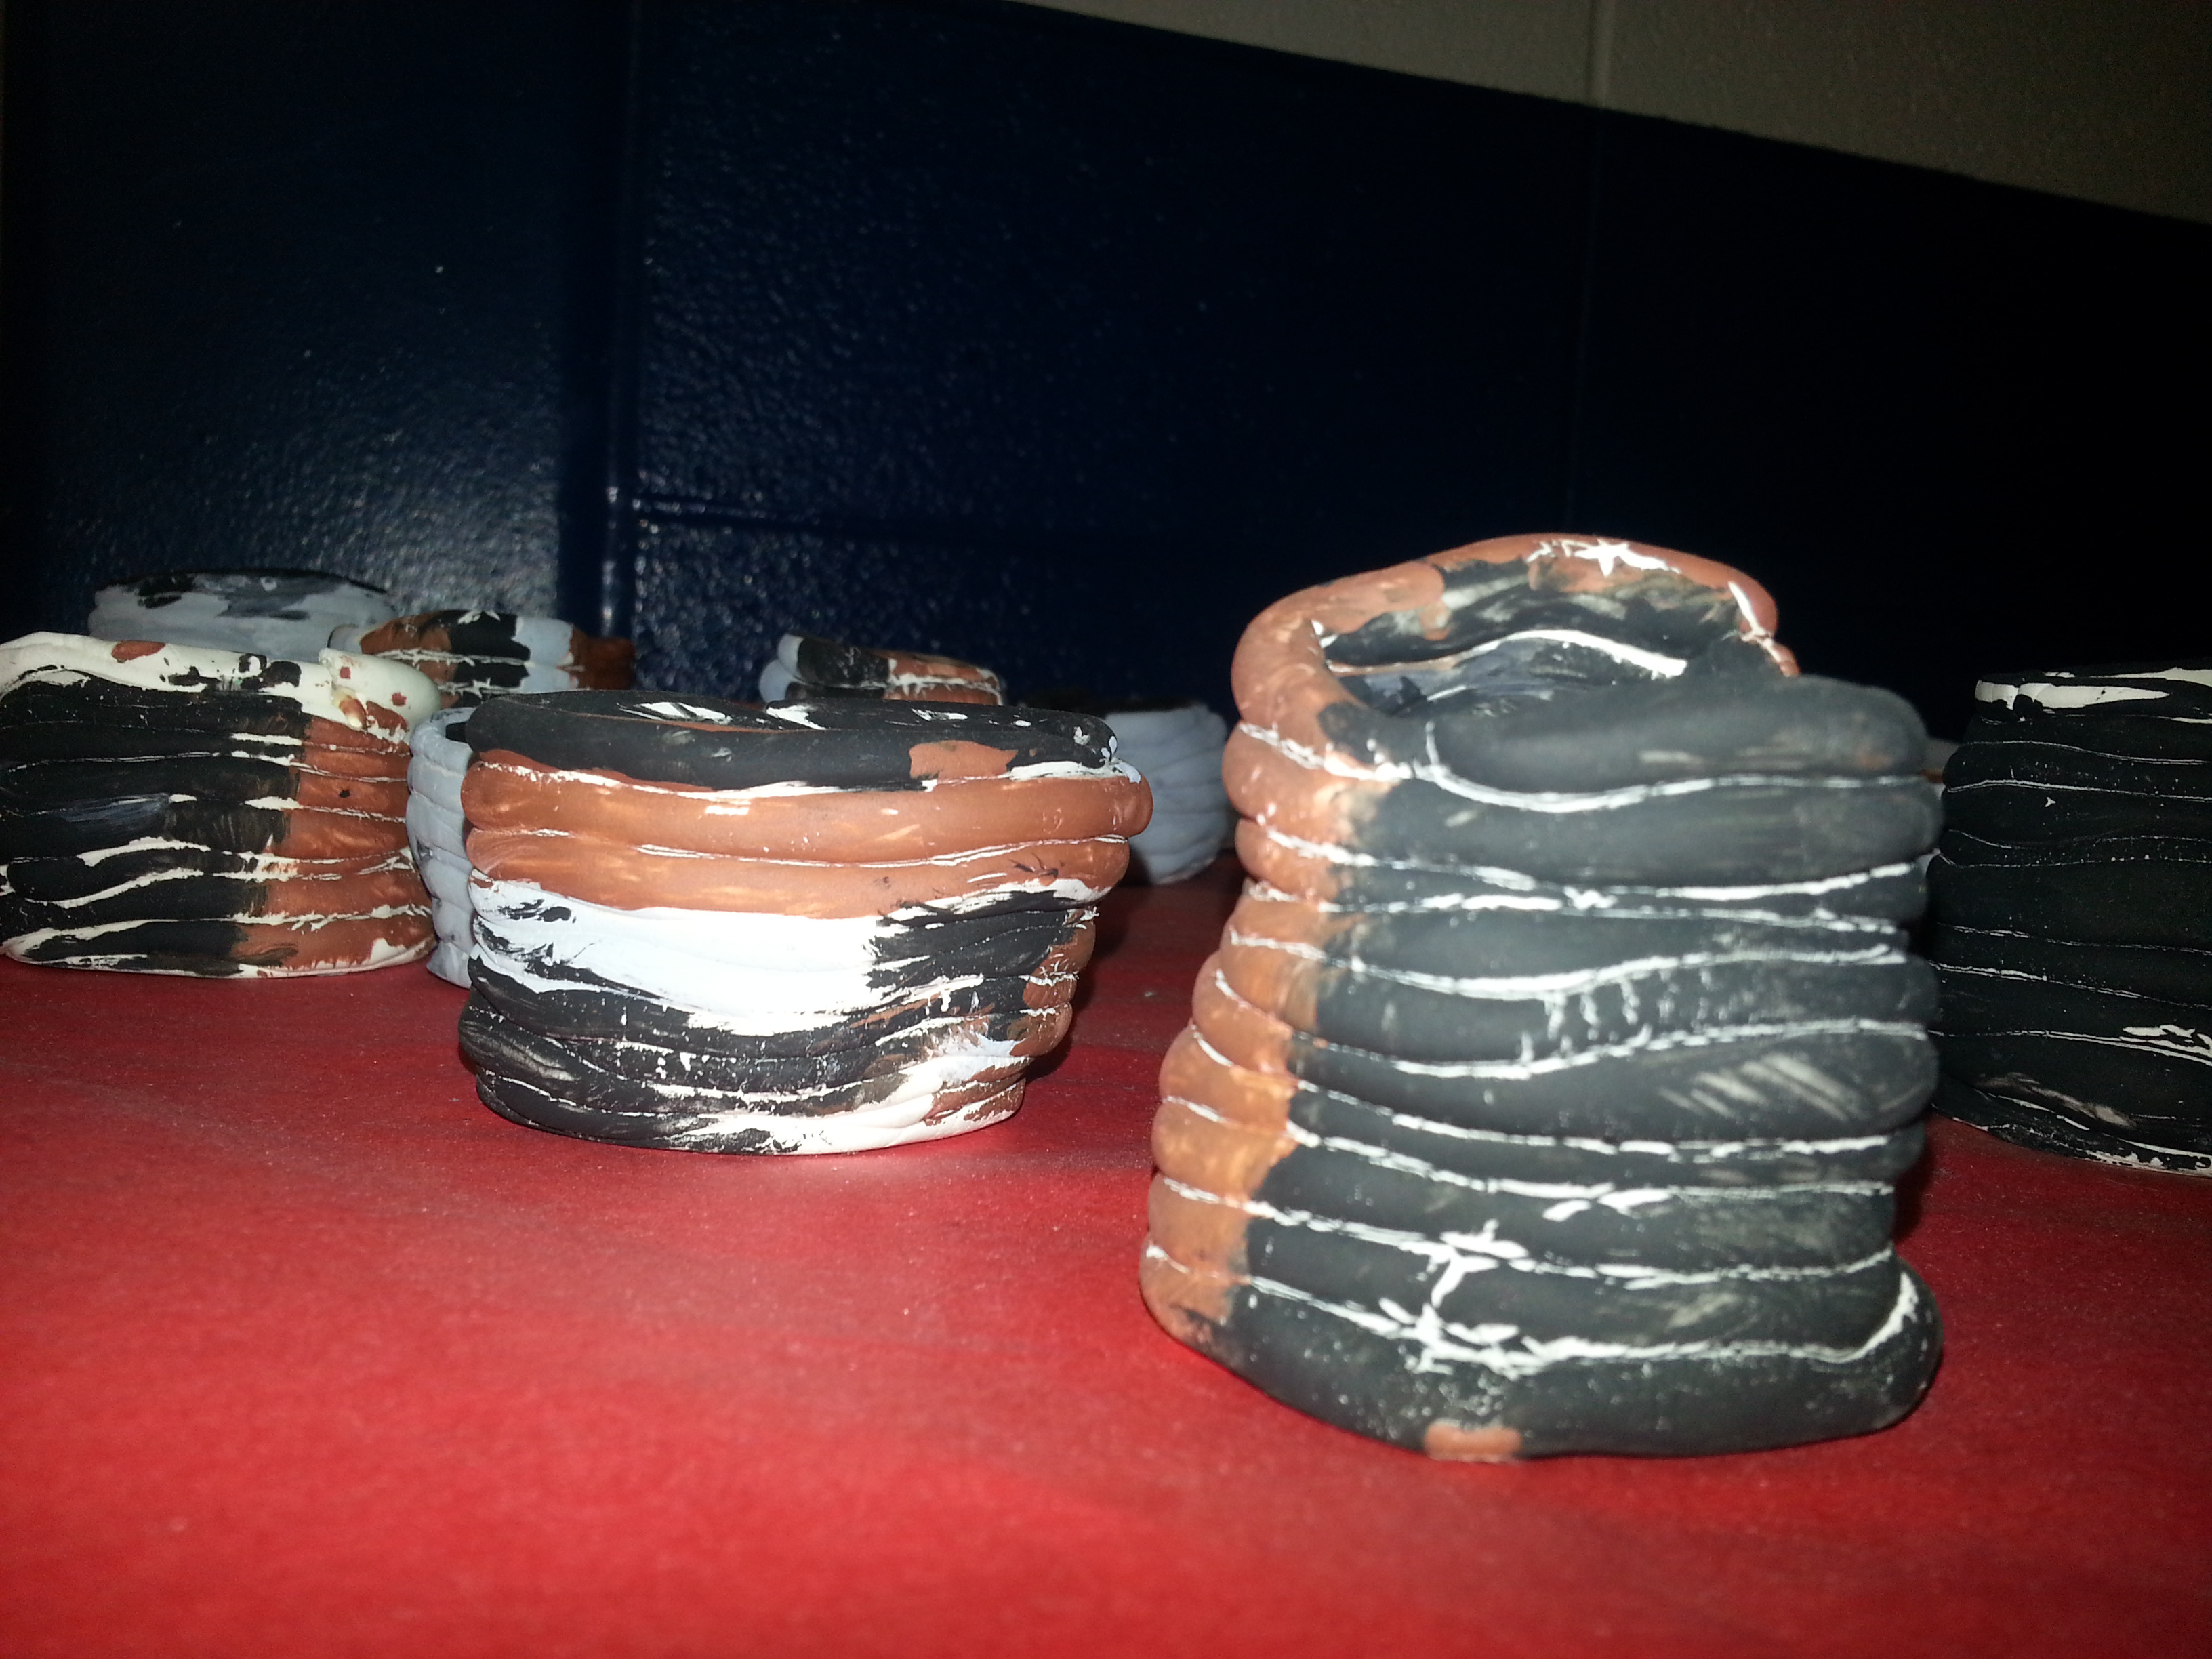
The second grade will learn how to create coil pots like Maria Martinez. She was a Pueblo Native American, who used traditional techniques to make Pueblo pottery. Maria’s pottery is functional, which means it can be used. What do these pieces of pottery look like they were used for?
Here’s more information on Maria and how important her artworks were to potters everywhere.
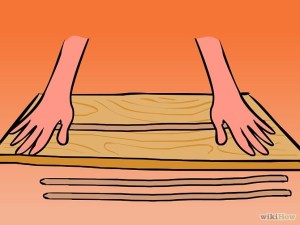
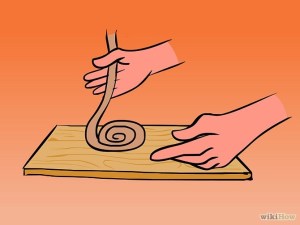
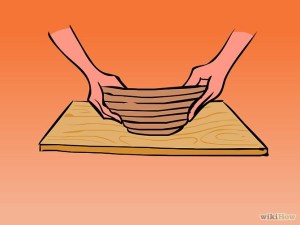
Here’s how to make a coil pot like Maria Martinez:
Day 1: Follow these steps to practice making coil pottery with modeling clay. Think of what shape your pottery needs to be to do a special job, like a vase or bowl. Save some extra clay if you need a handle, lid, or spout.
Day 2: Follow these steps to make coil pottery with the white, Model Magic clay. Don’t forget to think of what shape your pottery should be.
Step 1: Clay
Step 2: Roll clay into coils
Step 3: Form base of pot
Step 4: Shape pottery
Day 3: Place pottery on scrap paper. Draw patterns, with pencils, on your pottery and paint it. Don’t forget the inside! Don’t paint over your name or class. Keep pottery on scrap paper so it can dry.
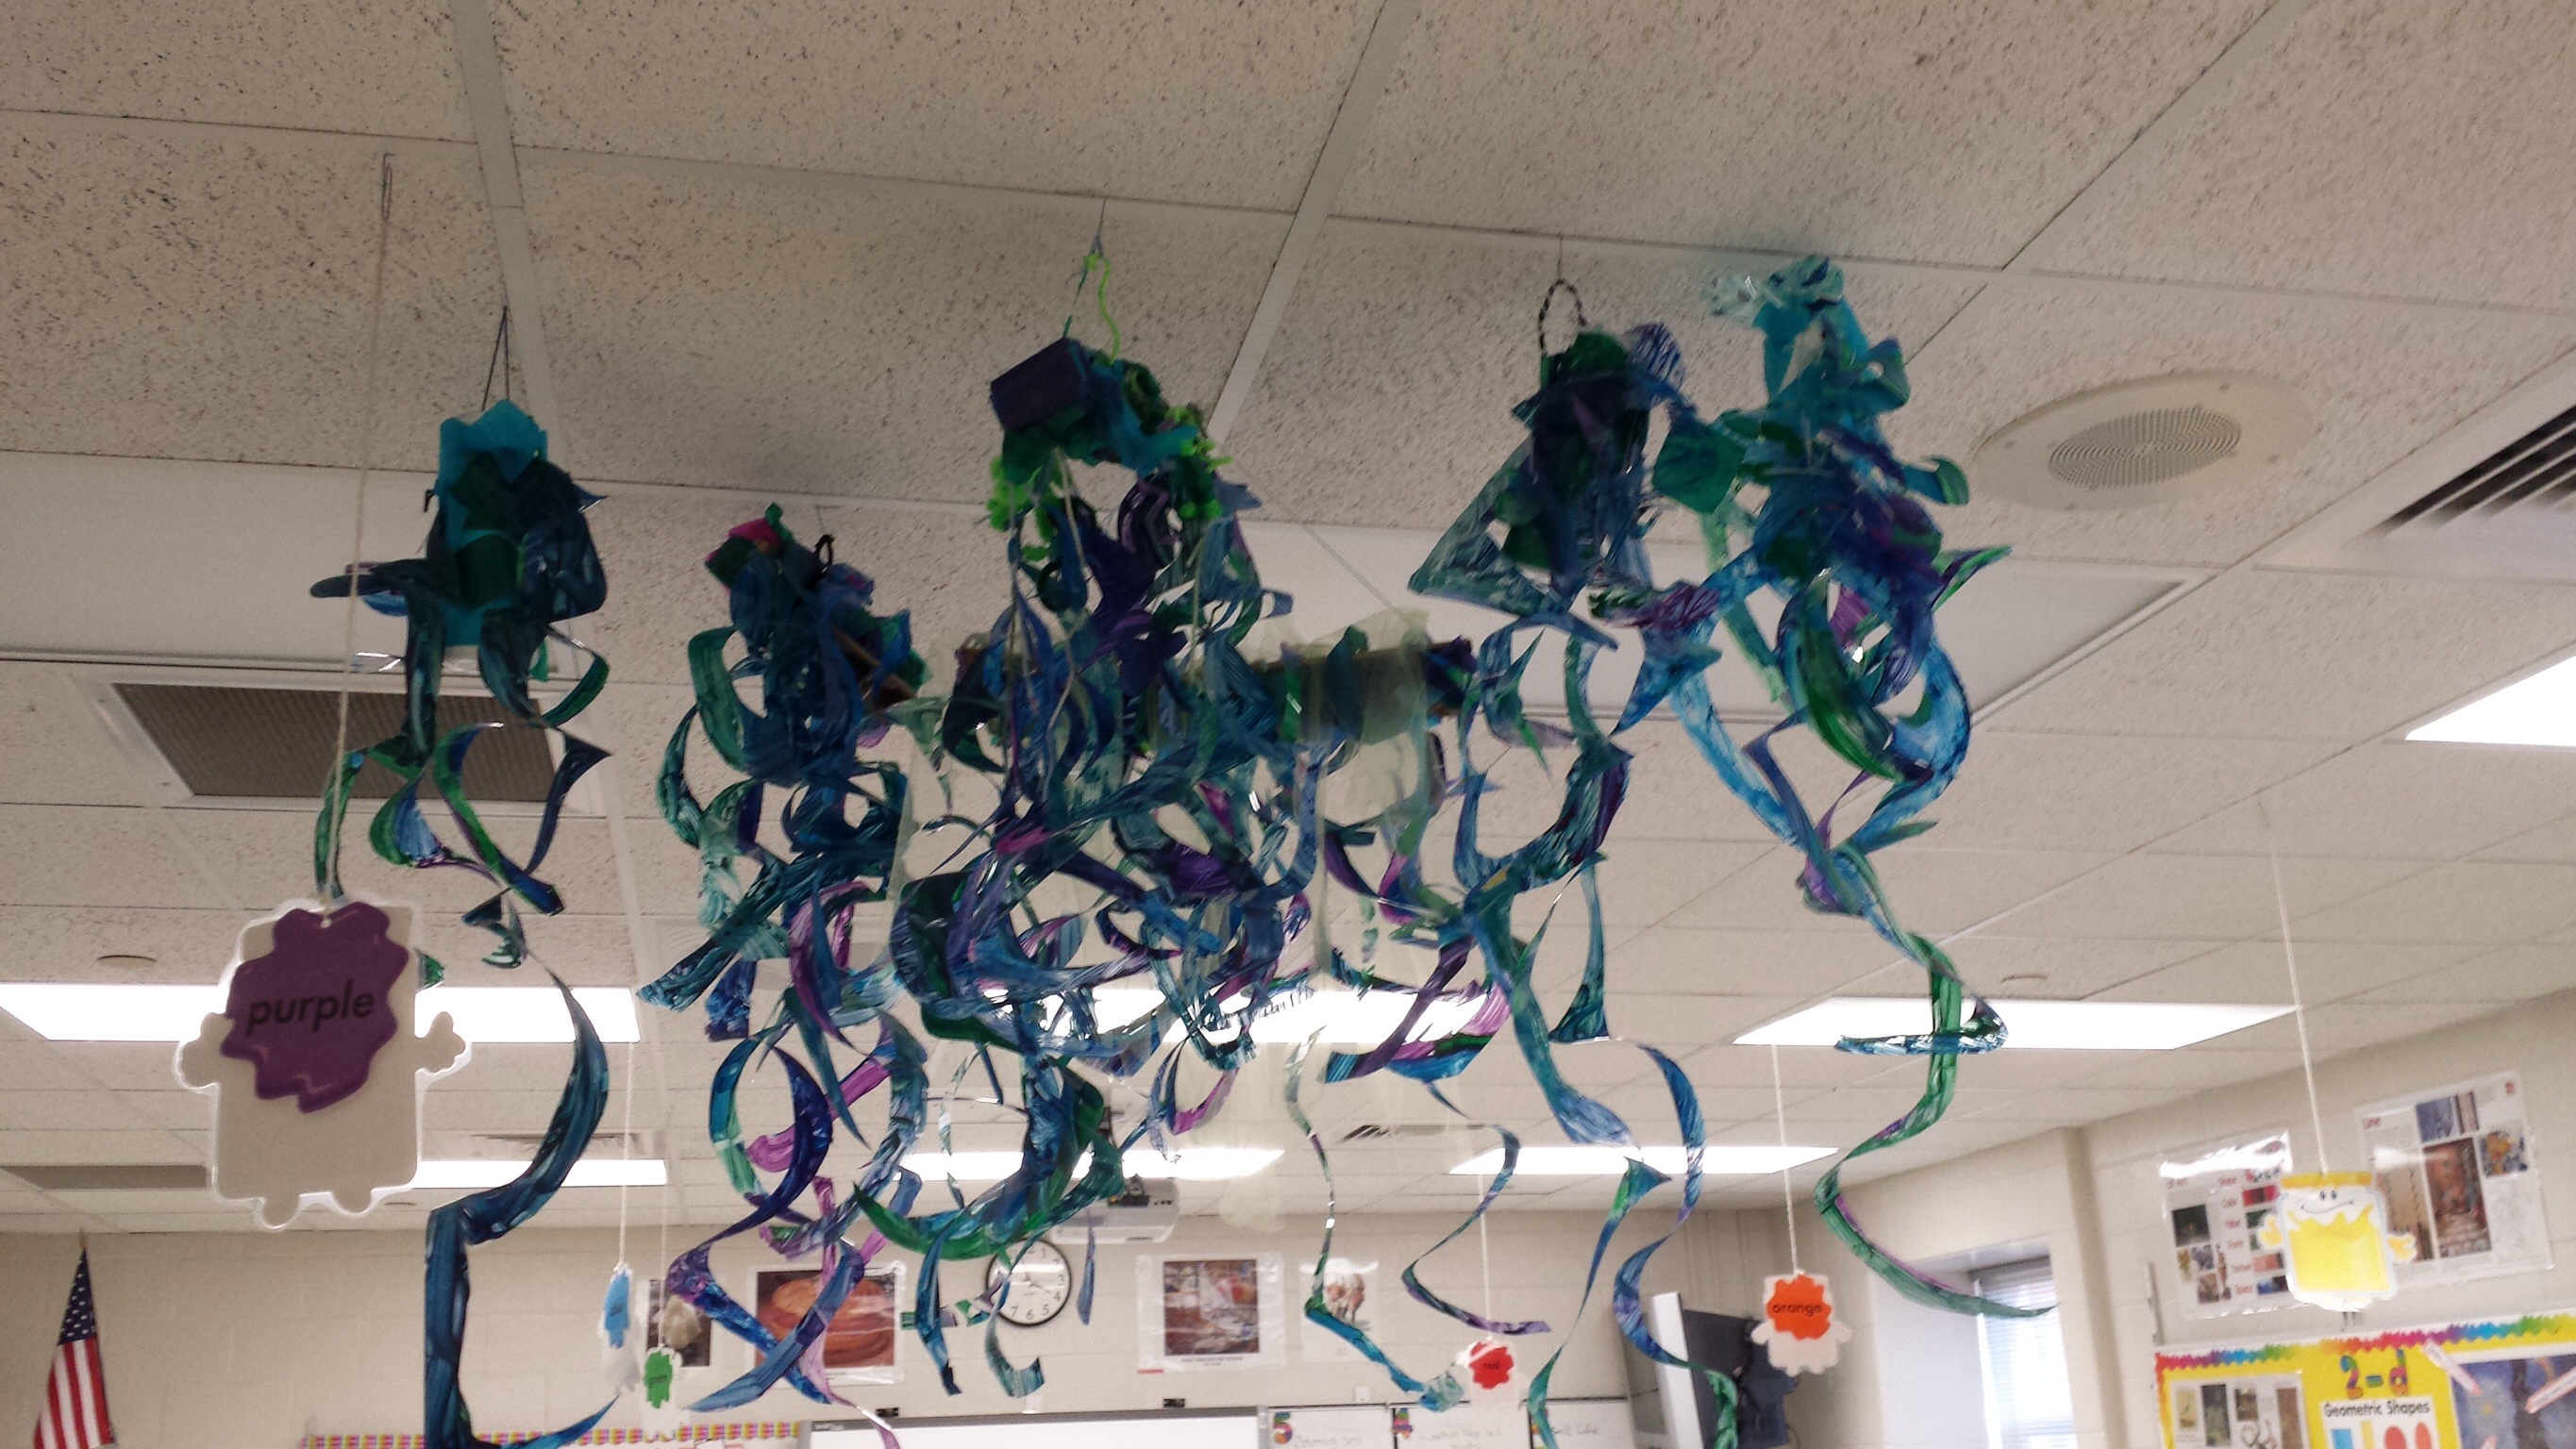
Two fifth grade classes completed their DaleChihuly– inspired sculptures! They finished securing their “glass” pieces to the armatures, added tissue paper to cover any visible armature, and hung them up. Students even reflected on working collaboratively as a team. Right now, these sculptures are drying in the art room, but they have bigger places to be! Fantastic job, fifth grade!
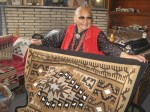
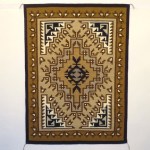
We will learn how to weave on a loom inspired by Navajo weaving. They will learn about Navajo traditions, how wool is used, and how the designs are created. Students will learn that weavings are a type of functional art. Functional art is art that can be used, like blanket or a rug.
Evelyn George & one of her Grey Hills rugs
Evelyn George, Grey Hills pattern
Storm Pattern Rug
The Toadlena Trading Post helps keep Navajo traditions alive. This video introduces us to Navajo Master Weaver, Evelyn George.
We will learn how the geographic location of the Navajo Nation helps the weavers create their artworks.
Map showing the Navajo Nation
Monument Valley, Navajo Nation
Did you ever wonder how sheep help make weaving?
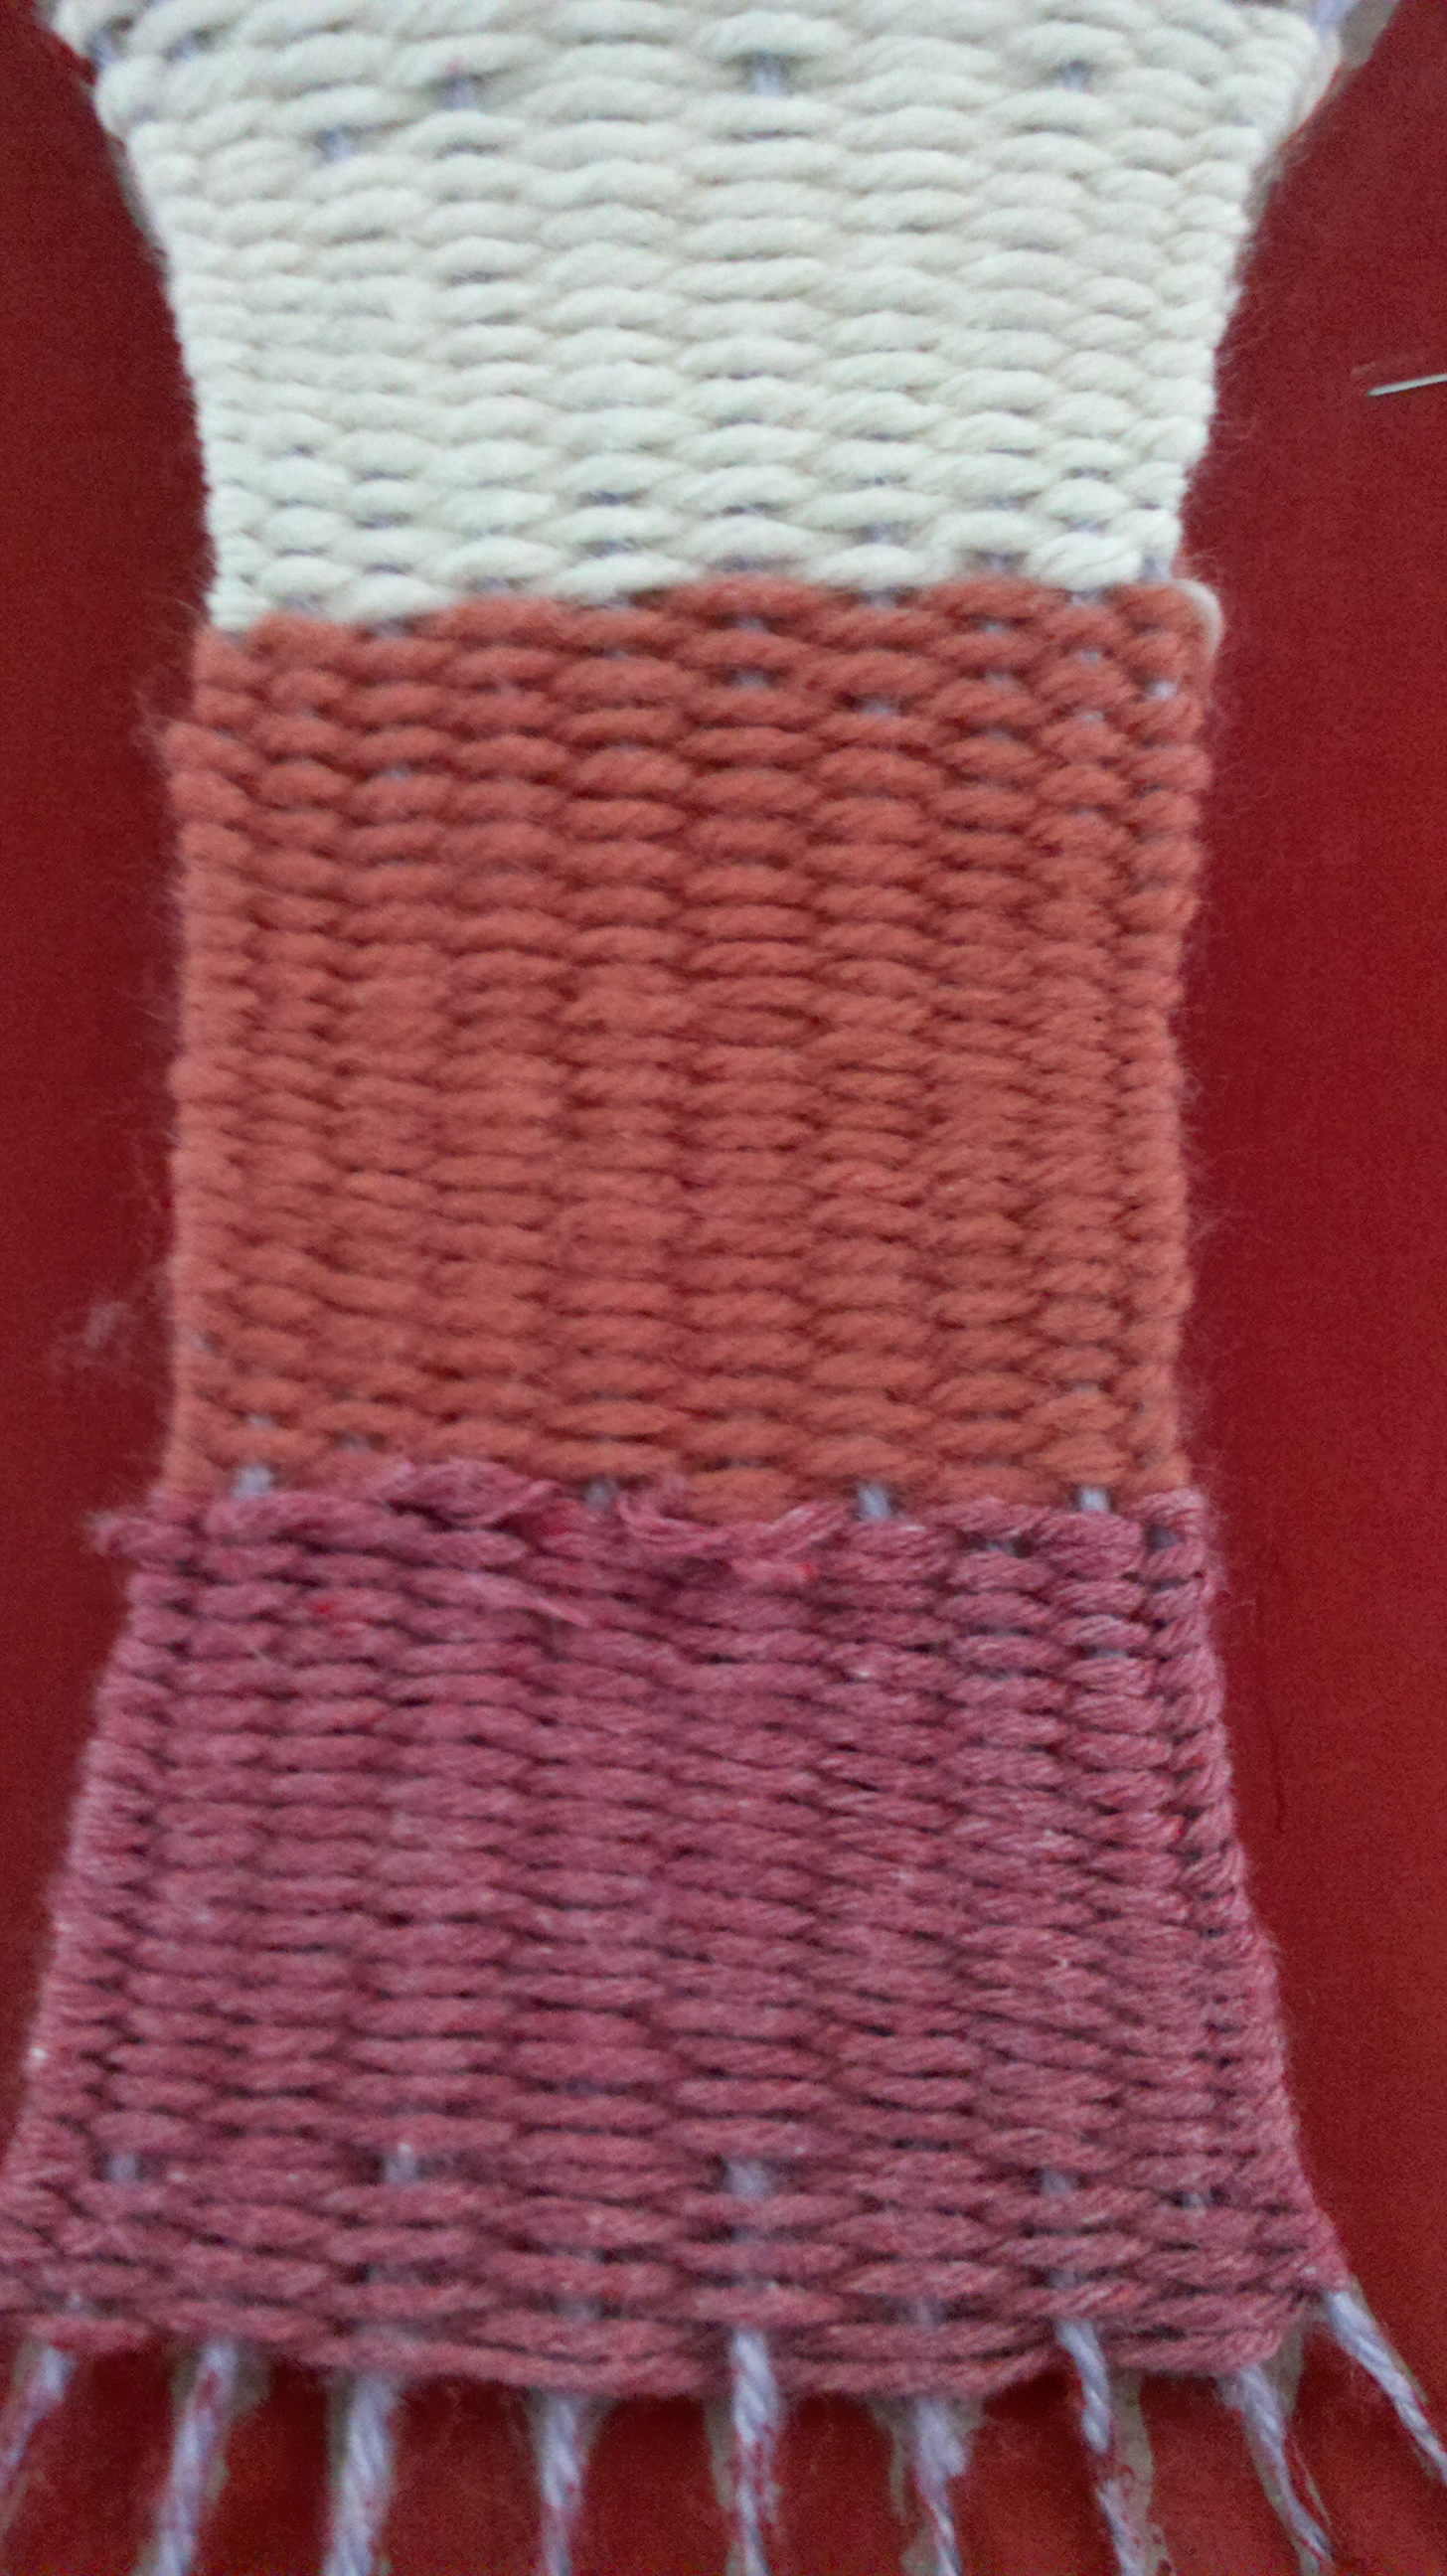
Here’s a student example, still on the loom.
Watch the video and follow these steps to create your weaving:
Day 1: Write your name on a piece of masking tape, put it on the back of your loom. Use two colors of string to create your warp lines. Tape your ends on the back of your loom. If there’s time, begin to weave! Over then under, keep repeating those steps. Do not flip over your loom, stay on ONE SIDE.
Day 2: Weave! Over then under, keep repeating those steps. Do not flip over your loom, stay on ONE SIDE. ***When you finish one color, tie your end to your next color yarn. This is different from the video.Keep weaving and fill your loom, don’t pull too tight. Keep pushing your weaving up to make more room.
Day 3: Keep weaving! Over then under, keep repeating those steps. Do not flip over your loom, stay on ONE SIDE. Keep weaving and fill your loom, don’t pull too tight. Keep pushing your weaving up to make more room.
Day 4: Follow these steps (like the video) to take your weaving off your loom:
Flip over your loom, so you see the diagonal lines.
Cut the diagonal lines.
Tie the first two ends together, make sure the knots are close to the weaving.
Go to the next two warp lines, tie them together. Keep going! You may have an uneven number of warp lines to tie, you might need to tie three of them together.
Do steps 3-4 to the bottom of your weaving. This makes sure none of your weaving falls apart.
Trim any loose ends. Be careful not to cut the knots you just made!
Write your names on masking tape and stick it to the back of your weaving. You don’t want to lose your beautiful artwork!
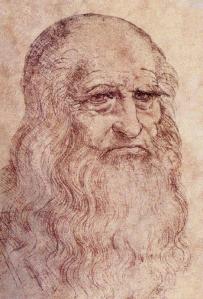
The fifth grade is learning about DaVinci and his masterpiece, The Mona Lisa. We will learn her history and why she’s so famous.
Da Vinci,Self-Portrait, 1512
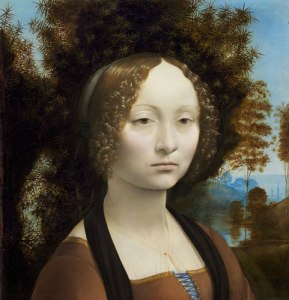
Mona Lisa, 1503-1506
I finally made it!
But, I had to get through this crowd to see her.
She’s in DC at the NGA!
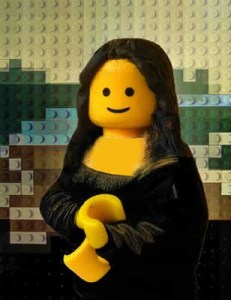
This is a parody, this is not the real Mona Lisa.
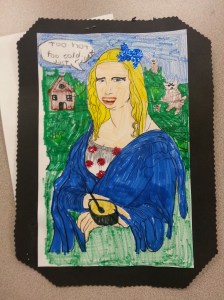
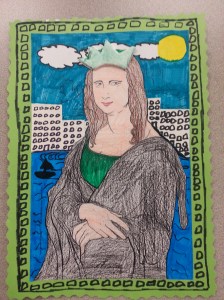
We will create our own parodies of The Mona Lisa, using mixed media. These are student artworks. How did they reinvent the Mona Lisa?
GoldiLisa
Liberty Lisa
Mona Lisa– Download the PowerPoint we’ll view in class.
Here’s the rubric page for this project. Look at Level 4!
Steps:
Think of how you could change Mona Lisa as a person. How would you change her clothing and background?
Choose at least 2 types of media. Your media should enhance your parody. Example: Princess Peach Mona Lisa (from Mario) would need blonde hair, a sparkly pink gown, and a castle.
Practice your ideas on two mini Mona Lisas. You will have glitter, glue, and paint available for your final version, butnot for your minis.
Once you have your best idea: create your final parody (on the big paper). Fully color in your whole Mona Lisa- no empty white spaces. Your new Mona Lisa should look completely different than the original. Look at the examples!Come see me at the purple table for glitter.
Once you’ve completed your final version, glue it onto a construction paper frame. Write your name on the back of your frame and decorate the front. Fill out a rubric and staple it to the back of your artwork.
We did it! Gifted art students worked collaboratively to paint this banner. The banner will represent Woodford County at the 2015 KY School Boards Association Conference. Simmons was asked to do the honor this year, and we were very successful. Students chose to work on the banner, and most of them even used RECESS time to do it!Thank you to all the teachers who were flexible with their students so that we could have this wonderful opportunity.
The theme for this year’s conference is “The Courage to Lead,” so we did a “school” of fish with a colorful leader. Get it? School of fish? We thought it was clever!
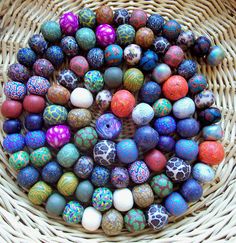
The second grade is learning that people all around the world have used beads for trade. A person would give a bead and receive something in return. Beads that are used like this are called trade beads. Sometimes, people traded beads to show friendship. Have you ever given a friend a gift?
Artists still make tradebeads from many materials, like glass, paper, and clay. What materials, or media, were used to make these beads?
We will make trade beads out of clay, paint them, trade them with friends, and make necklaces.
Learn more about how glass beads are made all around the world:
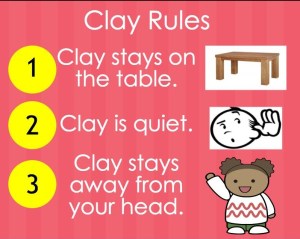
Follow these rules.
Student artwork
Your turn…Steps:
1) You will need half of a packet of Model Magic.
2) Follow these steps to make your beads. Your clay will be all white. Make sure the hole is big enough for yarn. (These holes would be too small!) The hole will shrink a little when it dries. Make AT LEAST 10 beads, try new shapes. Make one bead just for your teacher (shh…it’s a surprise!).
babbledabbledo.com
3) Gently place your beads in the egg carton. Make sure they are in the spots with your name. Let your beads dry, go help a friend!
4) Once beads are dry, gently take them out of the egg carton. Place them on your scrap paper.
5) Use markers to color your beads- your hands will get messy, it’s okay! Use the scrap paper to keep the table from getting messy.
6) Trade three beads with three different people. Give me your bead for your homeroom teacher, I will make the surprise necklace.
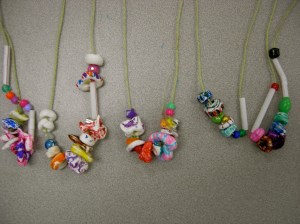
7) String your beads onto your yarn. Tie a knot. Wear your necklace. Be careful, the colors will come off if your bead gets wet!
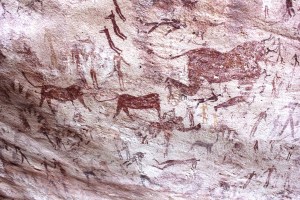
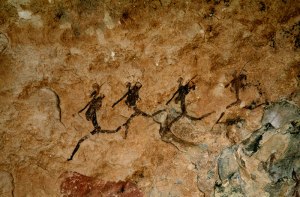
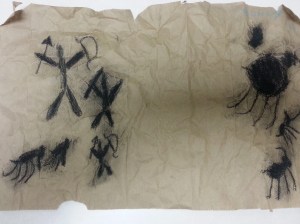
The first grade is learning about Cave Art, or Rock Art. We are learning that Cave Art is a very old art form that’s found all around the world. We are focusing on the Cave Art in Africa and Europe. In Cave Art, people used symbols that told stories, called pictographs. Art that tells stories is called narrative art. Today, people still make art to tell stories. We will look at Cave Art from different parts of Africa and Europe and look for clues that tell us what the story is about.
What do you notice about the lines, shapes, and colors in the paintings?
What materials do you think artists used to make Cave Art?
What stories do you think they’re telling?
Libyan Desert, Africa
South Africa, Africa
Lascaux, France
The Caves of Lascaux, in France
We will also learn that people still use caves to make art. Artist, Ra Paulette, creates beautiful sculptural spaces in caves. These artworks don’t tell stories in the same way that ancient Cave Art does, but it is a new way to use caves.
I picked up our Bibelots from the Headley-Whitney Museum last week. I was so excited to get them back to school so they could be put on display. These are the artworks that were student- nominated to represent each 5th grade class. Two students’ sculptures received Honorable Mentions at the Improbable Baubles Exhibition. I couldn’t be more proud of the students!
Bonus: The artist statements will be saved for our annual Writing on the Walls display this spring. This is the project that keeps on giving!


