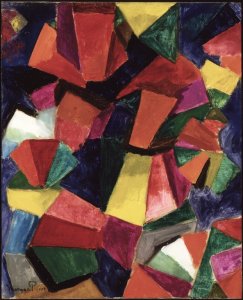
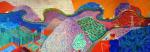
The kindergarten is learning about contrasting colors. Contrast is the difference between two things. With color, contrast is the difference between light and dark colors. We will look at Morgan Russell’s artwork Synchromy Number 4, painted in 1914.
What colors do you see?
Which are light, which are dark?
Do the dark colors make the light colors stand out?
Do the light colors make the dark colors stand out?
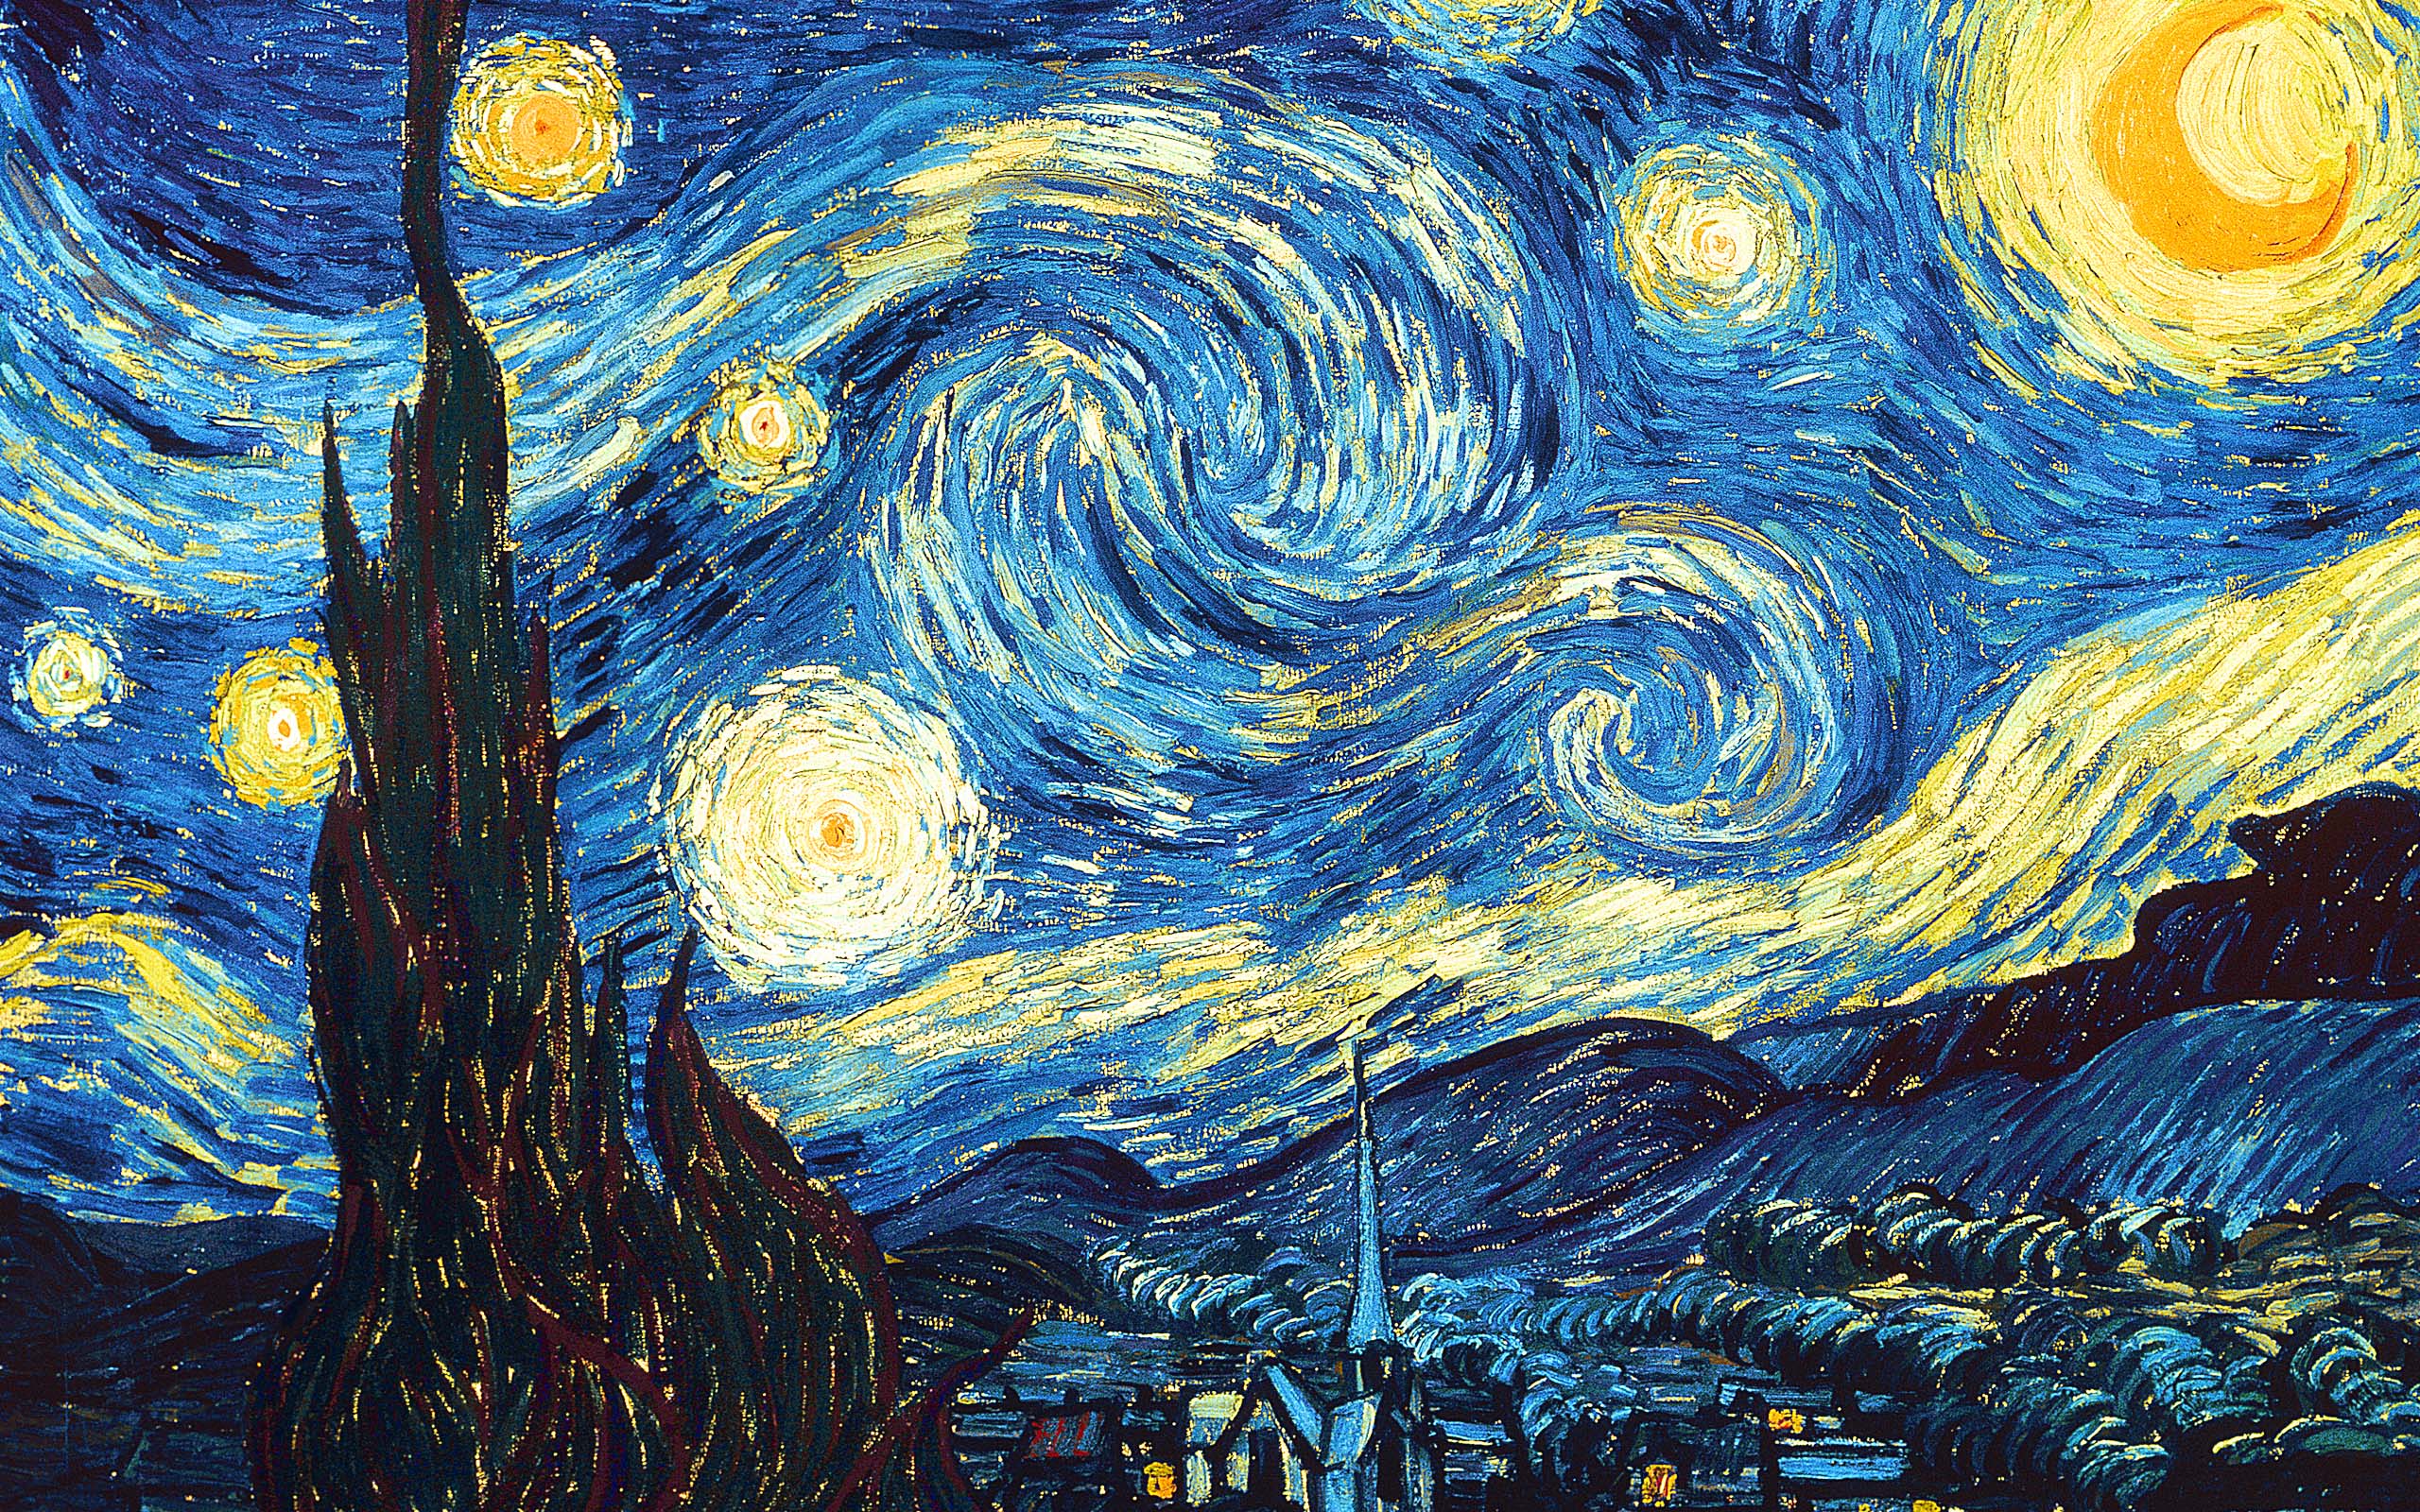
We will compare the colors used in Synchromy Number 4 to Starry Night, which we just learned about. How do contrasting colors show make something stand out?
Synchromy Number 4
Starry Night
accessibility.hhs.texas.gov
Write your name and class on the back of your paper.
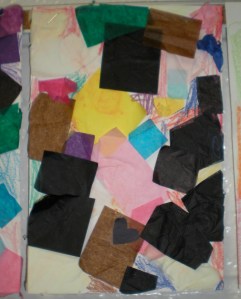
Choose light colored papers and glue them onto your paper. You can spread them out or put them close together. *Put glue on your paper and then stick the tissue paper onto the glue.
Choose dark colored papers and glue them onto the empty spaces on your paper. Fill up your page.
If you have small empty spots, fill them in with crayons.
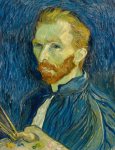
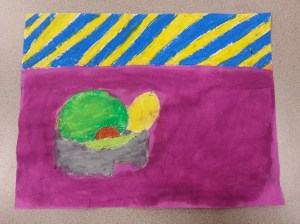
The 3rd grade will complete their unit on the three types of subject matter. We’ve learned that landscapes show nature and portraits show people, so now we’re moving on to learn about still lifes. They are artworks that show objects that do not move. The objects are still, so they’re still lifes! Which type of subject matter do you think is the most challenging? Why?
Vincent Van Gogh, Self Portrait 1889
David Hockney, Mulholland Drive
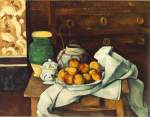
Paul Cezanne, Still Life with Commode (Chest of Drawers)
We’ll learn about Janet Fish’s realistic still life paintings. She loves to challenge herself by painting transparent objects, like glass. This is the first time we’ll draw from observation. We will look at a still life in front of us and draw what we see. We’ll focus on using overlapping shapes, shadows, and realistic colors.
Why do you think painting glass would be so challenging?
What do you notice about her artwork?
How does she use lines, shapes, colors, and textures?
Janet Fish, Fish Vase
Janet Fish, Cerises
Here’s how a still life is made- on an iPad!
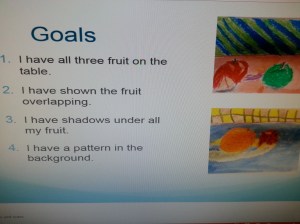
1) Check your goals.
2) Draw your table, fruit, shadows, and wallpaper.
3) Add oil pastel color to your fruit.
4) Add oil pastel color to your background.
5) Paint your table.
6) Check your work. Write your reflection.
The longer version:
Write your name & class on the back of your paper. Draw a horizon line. This will be the line for the table.
Your teacher will pass out 3 fruit. Pay close attention to which fruit you receive and how they are arranged.
Carefully draw the fruit closest to you. Draw lightly. You might need to erase some parts. Make sure your fruit is below the horizon line.
Draw the next closest fruit to you. Repeat step 3. Remember to show if one fruit is overlapping in front of another.
Draw your last fruit. Repeat step 3. Your still life might look differently than your neighbor’s. They might have different fruit closest to them.
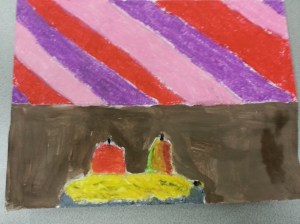
Use oil pastels to color in the fruit. Add realistic colors (apples are more than just red!).
Blend white and black oil pastels to make gray shadows.
Use oil pastels to color your background/wallpaper.
Use tempera cakes to paint your table. Check your goals and write your reflection.
On Tuesday, January 13th, Simmons held our Winter Fine Arts Night. We displayed over ONE HUNDRED artworks while Mrs. Bowmer’s Friday classes performed on their instruments. The artworks are currently on display, so please visit our 2015 Winter Art Exhibition.
The kindergarten will learn about Vincent Van Gogh’s Starry Night. What kinds of lines, shapes, and colors do you see? What kinds of sounds do you think you’d hear if you were in this painting? What looks like it’s moving? What looks like it’s still? Movement makes artwork look exciting.
Students will learn about Van Gogh and his painting through a virtual tour of the Museum of Modern Art. Can you explore the museum and find Starry Night? http://www.moma.org/interactives/destination/
Start the tour
There it is!
Here’s a mesmerizing view of Van Gogh’s Starry Night. There’s an interactive animated app.
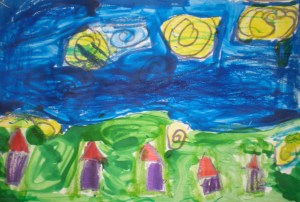
Kindergarten student artworks
Write your name and class on the back. Draw a wavy line to separate the land from the sky.
Using crayons and markers, draw a moon, glowing stars, and wind in the sky. Add lines to make the sky look like it’s moving like Starry Night.
Draw a town on the ground. What places will you add? Make sure your buildings aren’t floating in the sky.
Add details like doors, windows, and trees. Fill in your paper.
The 2nd grade will learn about mask-making. They will learn that, all over the world, people wear masks. Masks are worn for many reasons, like celebrations and holidays. Have you ever worn a mask? Did it change the way you felt or acted? Do you have a favorite mask to wear?
Raven Mask- Pacific Northwest
Buffalo Mask- Burkina Faso
Tiger Mask- Mexico
Monkey Mask- Japan
Most masks are the same on both sides, which means they have symmetry. Many masks have textures added, like feathers or beads. Do you see symmetry and texture in these masks?
This link is from the Art Institute of Chicago. Click on the image to learn about masks and create your own.
Art Institute of Chicago- Mask Maker
How are music, dance, and art all connected? This is the Raven Dance (dance), which shows the Raven Mask (art), instruments, and singing (music). What a way to celebrate a raven!
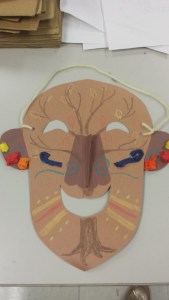
Your mask will celebrate your favorite season. Think of what symbols or pictures you could use to show your season. What season do these masks show?
Student artwork
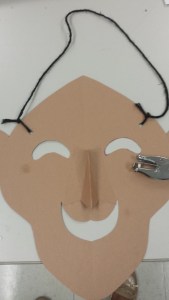
Your turn…
Day 1:
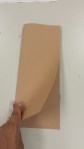
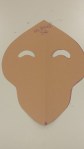
1. Fold your large brown paper in half like a hotdog. Make sure the folded side in on the LEFT.
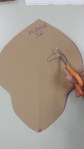
2. Draw a dot at the top and bottom of the folded side 1. Draw a dot in the middle of the unfolded side.
3. Connect the dots using curvy, wavy, zig zag, or diagonal lines. You choose!
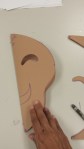
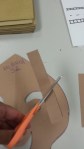
4. Cut on your lines, this will give you your mask’s shape.
5. Write your name & class on the top of your back.
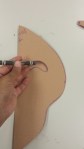
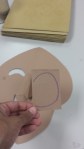
6. Draw one eye, use the tip of your scissors to make a hole.
7. Cut out your mask’s eye.
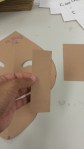
8. Fold your mask on the folded line, trace your eye with crayon.
9. Cut it out like you did your first eye.
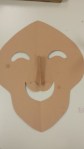
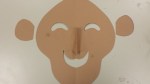
10. Now your mask is symmetrical!
11. Fold your mask again, on the folded side, draw half of a mouth.
12. Cut out your mouth.
Day 2:
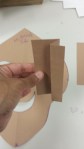
1. You will need 2 pieces of small brown paper.
2. Fold one piece like a hot dog (long ways).
3. Fold it again on either side, so it looks like a fan.
4. Keep folding until it looks like a fan.
5. Cut it in half, so it’s shorter. Flip your mask over.
6. Pinch the middle fold.
7. It will look like an airplane.
8. Put glue on the TOP of the airplane wings.
9. Press the wings onto your nose. Pinch the top and gently pull the bottom parts out so it looks like a nose.
10. Take your second small piece of paper.
11. Draw ONE ear on your paper.
12. Cut out your ear. You might have two, or need to cut them on the folded line.
13. Glue your ears symmetrically.
Day 3:
1. Use a hole punch to make symmetrical holes. Tie your string.
2. Decorate your mask to show your season. Add texture “beads.”
The 3rd grade is learning about Marc Chagall’s artwork I and the Village. They learned that Chagall’s artworks are often inspired by his memories. Artists often include symbols, or clues, about their lives in their artworks. What symbols do you see in I and the Village? What symbols would you include in your artwork? Students will paint a self-portrait that includes symbols about their lives.
The kindergarten is reading The Dot by Peter H. Reynolds. We are learning how a positive attitude and trying new things are important for an artist. We are creating more than one Dot artwork, like the book’s main character, Vashti, does.
The 1st grade is learning about the Caddo Native Americans from Texas. They are learning that the Caddo have a long history of being artists and are still making amazing artwork today.
We are learning that pottery is functional art, which means it can be used or it has a job. The shape of a piece of pottery gives us clues about how it should be used. A mug is shaped differently than a pitcher because they are used differently.
We are creating pottery that has a job and then decorating it with animal forms, like the Caddo.
The first grade will learn how lines, shapes, and color all work together to give viewers clues about artwork. We will learn about Wayne Thiebaud’s dessert paintings. What kinds of lines, shapes, and colors do you see in these artworks? How do they help you know what types of desserts these are?
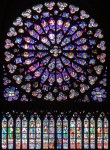
The fourth grade classes will be looking at Notre Dame Cathedral in France. We will learn that rose windows are narrative (tell stories) and have radial balance (many lines of symmetry). Students will create their own “stained glass windows” using black paper and tissue paper. Ms. Baird will laminate the windows and put them against the windows in the foyer. The sun light makes them look like they are glowing!
A view from the top.
Rose Window at Notre Dame- this shows radial balance
Ms. Baird at Notre Dame Cathedral
How is stained glass made? Could you imagine doing this on a large window?


")